Laminate Flooring Underlays Explained: Which Type is Best for Your Home?"
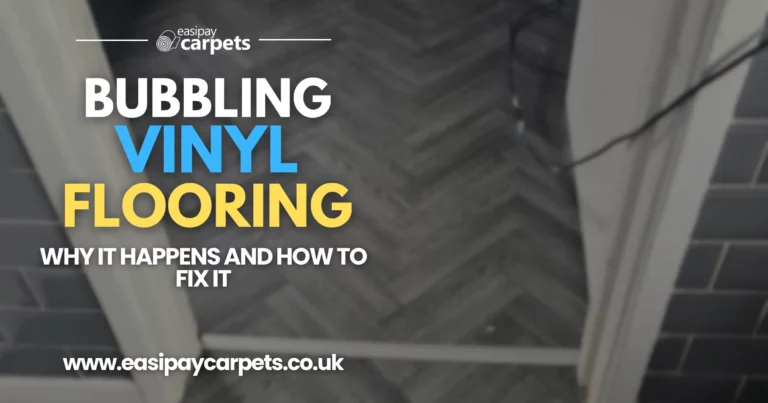
Why Bubbles Form in Vinyl Flooring and How to Get Rid of Them Like an Expert
Vinyl flooring is a popular choice for its affordability, durability, and ease of maintenance. However, bubbles can occasionally form beneath the surface, creating an uneven appearance and reducing the flooring’s aesthetic appeal. While these bubbles might seem like a major issue, they’re often easy to fix with the right approach.
This guide will explain why bubbles form in vinyl flooring, how to get rid of them, and tips to prevent them from reoccurring.
Common Causes of Bubbles in Vinyl Flooring
Trapped Air During Installation
Improper installation techniques, such as laying vinyl too quickly or failing to smooth it out, can trap air bubbles beneath the surface.
Adhesive Issues
Bubbles can form if the adhesive isn’t applied evenly or if it dries too quickly during installation. Using low-quality adhesives or failing to let them cure properly can also lead to issues.
Moisture Problems
Excess moisture in the subfloor can cause the adhesive to lose its bond, resulting in bubbles. This is especially common in areas like kitchens and bathrooms.
Temperature Fluctuations
Vinyl flooring expands and contracts with changes in temperature. Extreme fluctuations can cause the material to warp or bubble.
Subfloor Imperfections
An uneven or debris-filled subfloor can create gaps beneath the vinyl, leading to bubbles over time.
Wear and Tear
Old or heavily used vinyl flooring may develop bubbles as adhesive weakens or the material begins to deteriorate.
How to Get Rid of Bubbles in Vinyl Flooring
Step 1: Identify the Cause
Before attempting to fix the problem, identify what’s causing the bubbles. If moisture is the issue, address it first to avoid further damage.
Step 2: Use a Needle to Release Trapped Air
For small bubbles, use a sharp needle or pin to carefully puncture the bubble and release the trapped air. Gently press the area flat with your hand.
Step 3: Apply Heat
Heat softens the vinyl, making it easier to smooth out. Use a hairdryer or heat gun on a low setting to warm the bubbled area. Once softened, press the bubble flat using a rolling pin or a cloth-covered block.
Step 4: Reapply Adhesive
If the bubble is caused by adhesive failure:
- Lift the vinyl gently using a utility knife.
- Clean the area beneath and apply fresh adhesive evenly.
- Press the vinyl back into place, smoothing it with a roller.
Step 5: Replace Affected Sections
For severe bubbling or damage, replacing the affected section of vinyl may be the best option. Use leftover vinyl or order matching material to ensure a seamless look.
Step 6: Secure the Edges
Once the bubble is removed, check the edges around the repaired area to ensure they are secure. Apply additional adhesive if needed and press firmly.
Preventing Bubbles in Vinyl Flooring
- Prepare the Subfloor Properly: Ensure the subfloor is clean, dry, and level before installation.
- Use High-Quality Adhesives: Invest in good-quality adhesives and follow manufacturer instructions carefully.
- Install in Optimal Conditions: Avoid installing vinyl flooring in extreme temperatures or high humidity.
- Roll the Vinyl During Installation: Use a heavy roller to smooth out the vinyl and eliminate air pockets.
- Address Moisture Issues: Use a moisture barrier for subfloors prone to dampness.
When to Call a Professional
While minor bubbling is often a DIY fix, severe issues or widespread bubbling may require professional help. A flooring expert can diagnose the root cause, recommend the best course of action, and ensure a smooth, lasting repair.
Conclusion
Bubbles in vinyl flooring can be unsightly, but they’re typically easy to fix with the right approach. Understanding the causes of bubbling, such as improper installation or moisture issues, can help you address the problem effectively. By following expert tips for repair and prevention, you can keep your vinyl flooring looking smooth and beautiful for years to come.
Easipay Carpets can help you get brand new flooring without the high up-front cost – by simply letting you spread the cost of the flooring over time instead. There’s no interest on our plans so you aren’t spending a penny more than you would buying it outright and we include underlay, door trims, carpet grippers and laminate beading for free. Prices start from just £10 per week!
It starts with a free home appointment and quote, to get booked in at a time that suits you, tap the “Get Started” button below and fill out the contact form!
Still Got Questions? Here's 10 FAQs!
Bubbles can form due to trapped air, adhesive failure, moisture, temperature changes, or subfloor imperfections.
No, bubbles typically require intervention to be resolved.
A needle, utility knife, adhesive, rolling pin, and a heat source like a hairdryer are commonly used.
Yes, for small bubbles, releasing trapped air or applying heat is often enough.
Prepare the subfloor properly, apply adhesive evenly, and smooth out the vinyl with a heavy roller.
Check for underlying issues, such as moisture or adhesive failure, and address them before repairing again.
DIY fixes are typically inexpensive, but professional repairs or replacement may cost more.
Yes, using leftover vinyl ensures a matching finish and seamless repair.
Yes, temperature fluctuations can cause vinyl to expand and contract, leading to bubbles.
Not necessarily. Minor issues can often be fixed yourself, but professionals are recommended for severe or widespread problems.
