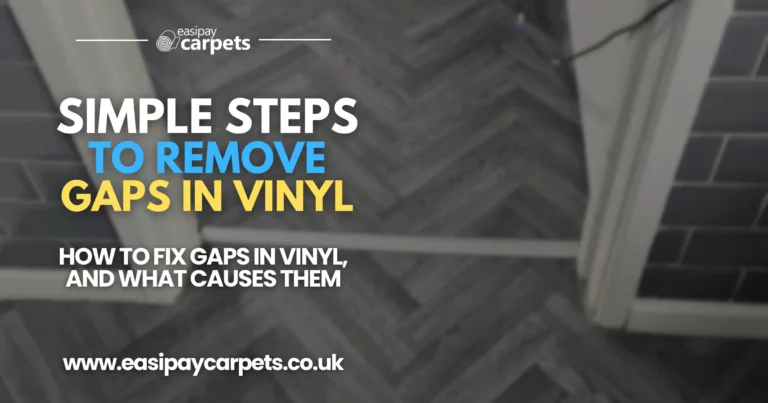
How to Close Gaps in Vinyl Flooring for a Seamless Finish
How to Fix Gaps in Vinyl Flooring
Gaps in vinyl flooring can be both unsightly and problematic. They often occur due to temperature changes, improper installation, or wear and tear over time. Fortunately, fixing gaps in vinyl flooring is a straightforward process, and with the right tools and techniques, you can restore your floor to its original seamless appearance.
This guide will explain the common causes of gaps in vinyl flooring and walk you through step-by-step solutions to fix them.
Why Do Gaps Form in Vinyl Flooring?
Understanding the root cause of gaps is essential to fixing them properly and preventing future issues. Here are some common reasons gaps form in vinyl flooring:
- Temperature Fluctuations: Vinyl flooring can expand and contract with changes in temperature, causing gaps to appear.
- Improper Installation: Gaps may form if the planks or tiles weren’t fitted tightly during installation.
- Subfloor Issues: An uneven or shifting subfloor can cause the vinyl to separate.
- Wear and Tear: Over time, heavy use and movement of furniture can create spaces between planks or tiles.
Tools and Materials Needed
- Heat gun or hairdryer
- Utility knife
- Rubber mallet
- Vinyl flooring adhesive
- Putty knife
- Seam roller
- Cleaning supplies (broom, mop, or vacuum)
How to Fix Gaps in Vinyl Flooring: Step-by-Step
Step 1: Clean the Affected Area
Before making any repairs, ensure the area is clean and free of dust or debris.
- Sweep or vacuum the floor to remove dirt and particles.
- Wipe the gap and surrounding area with a damp cloth and allow it to dry completely.
Step 2: Apply Heat
Gaps caused by vinyl contraction can often be resolved by applying heat to the affected area.
- Use a heat gun or hairdryer to warm the vinyl around the gap.
- Heat softens the vinyl, making it easier to stretch or reposition.
- Be careful not to overheat, as excessive heat can damage the vinyl.
Step 3: Reposition the Vinyl
Once the vinyl is warmed and pliable, gently push the edges of the gap together.
- Use your hands or a putty knife to nudge the planks or tiles into place.
- For larger gaps, use a rubber mallet to tap the edges gently until they close.
Step 4: Apply Adhesive (If Necessary)
If the gap cannot be closed by repositioning alone, use adhesive to secure the edges.
- Apply a thin layer of vinyl flooring adhesive to the exposed subfloor or plank edges.
- Press the vinyl firmly into place using a seam roller to ensure a tight bond.
Step 5: Trim Excess Material
For vinyl sheets or large tiles, you may need to trim excess material for a snug fit.
- Use a utility knife to carefully cut along the edge of the gap.
- Make sure the cut is clean and straight for a seamless appearance.
Step 6: Allow to Dry
Let the adhesive dry completely before walking on the repaired area. Follow the manufacturer’s instructions for drying times.
Step 7: Seal the Edges
To prevent future gaps, seal the edges with a vinyl seam sealer. This provides extra protection against moisture and movement.
Preventing Gaps in Vinyl Flooring
- Use Expansion Gaps: When installing vinyl flooring, leave small expansion gaps around the edges to accommodate temperature changes.
- Control Temperature: Maintain a consistent indoor temperature to minimise expansion and contraction.
- Install Properly: Ensure planks or tiles are tightly fitted during installation to avoid separation.
- Use Furniture Pads: Protect your flooring from heavy furniture movement by using felt pads or coasters.
- Check Subfloor Condition: Ensure the subfloor is level and stable before installation to prevent shifting.
Conclusion
Fixing gaps in vinyl flooring doesn’t have to be a daunting task. By identifying the cause and following these simple steps, you can restore your floor’s seamless appearance and prevent future issues. Whether it’s a minor adjustment or applying adhesive for a more secure fix, taking the time to address gaps will enhance the durability and aesthetics of your vinyl flooring.
Easipay Carpets can help you get brand new flooring without the high up-front cost – by simply letting you spread the cost of the flooring over time instead. There’s no interest on our plans so you aren’t spending a penny more than you would buying it outright and we include underlay, door trims, carpet grippers and laminate beading for free. Prices start from just £10 per week!
It starts with a free home appointment and quote, to get booked in at a time that suits you, tap the “Get Started” button below and fill out the contact form!
Still Got Questions? Here's 10 FAQs!
Gaps are often caused by temperature fluctuations, improper installation, or subfloor movement.
Yes, applying heat can soften the vinyl, making it easier to reposition and close gaps.
Use a vinyl flooring adhesive designed for your specific type of flooring.
Maintain consistent indoor temperatures, ensure proper installation, and use a seam sealer to secure edges.
Yes, most gaps can be repaired by repositioning, applying heat, or using adhesive.
Minor gaps can be fixed DIY, but severe issues may require professional assistance.
Most repairs can be completed in a few hours, depending on the size of the gap and adhesive drying time.
Yes, vinyl flooring naturally expands and contracts with temperature changes, but proper installation minimises visible gaps.
Yes, a hairdryer on a low setting can be used to apply heat to the vinyl.
Use heat to soften the material, apply adhesive if needed, and trim excess material for a snug fit.
